
I think I’m finished with this painting, however, I’m still needing to study it, and make sure there’s nothing that bothers me. I’ve signed it, and have started the final, multiple coats of diluted PVA spray to seal and make sure all the pastel is thoroughly adhered to the primed canvas. Earlier, while I was painting the piece, I would stop when the pastel would get too slippery, spray with diluted PVA size, wait for it to dry and continue. When I reach the end of a piece I spray 4-5 layers of the same diluted size, then finish with several coats of a UV protectant acrylic varnish spray.

Above is the finished painting and below is my spray “booth” on the front porch.
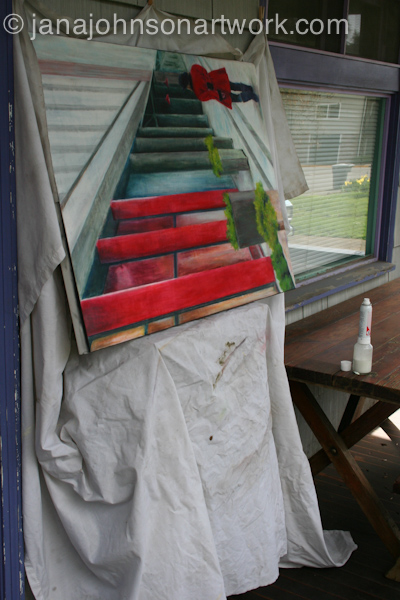
I use an ancient sheet that I attach to tiny nails on our porch and drape it over a shelf unit.

The clothespins are just attached to the sheet so I can find the nail holes next time after the sheet’s been removed and tucked into the shelf.
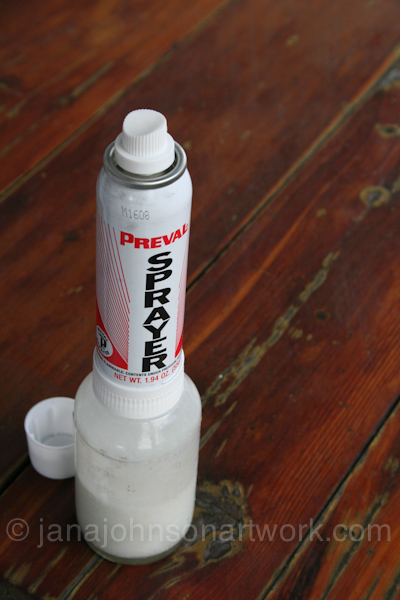
This is my spray tool. I fill the bottle with 1 part PVA Size, and 9 parts water. Very diluted!
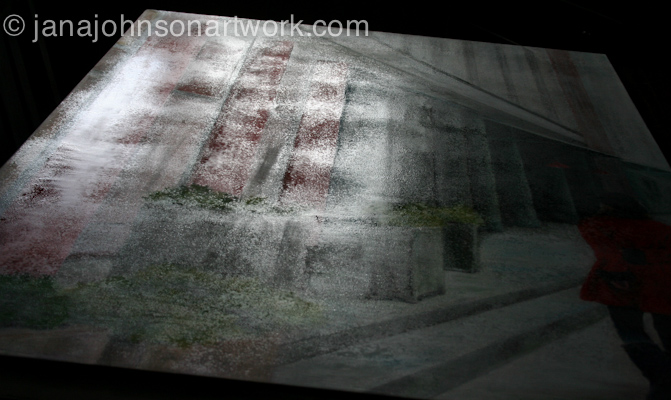
Here you can see how wet the canvas is after it’s been sprayed.

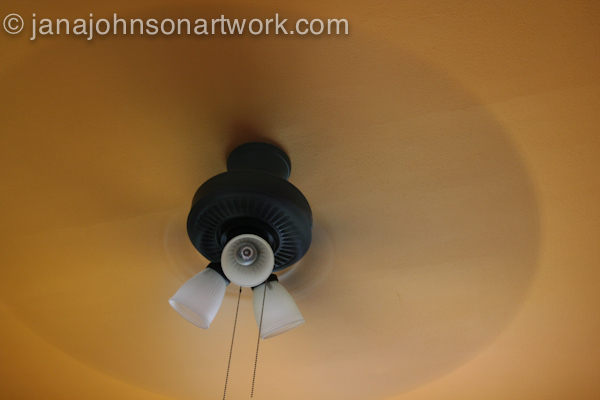
These two tools below aren’t necessary, but they’re very helpful during the drying process!

With this large of a canvas, I found it to be helpful to spray the painting while it lay horizontal along with spraying it vertically. Again, the front porch is a good spot for this, but during the painting process I discovered I could carefully spray a small area of this piece in my studio, saving myself the chore of hauling it out to the porch and setting up the “booth”. I haven’t checked to see if anything is overly sticky in the studio – yet… Luckily, it’s non toxic. I wouldn’t dare spray the acrylic varnish indoors!

I’m waiting to spray the acrylic varnish until I’m 100% sure I’m finished. I’ll give it a couple more days…

3 Comments