

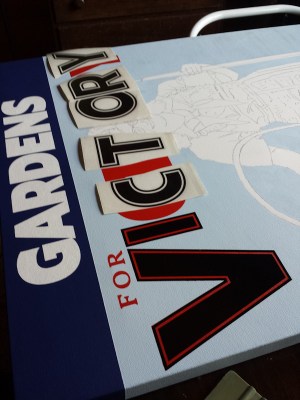
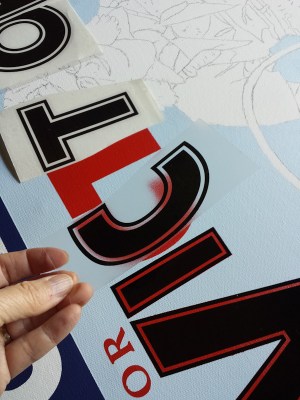
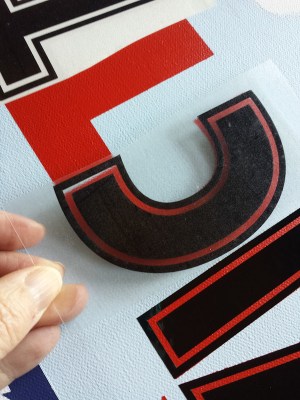
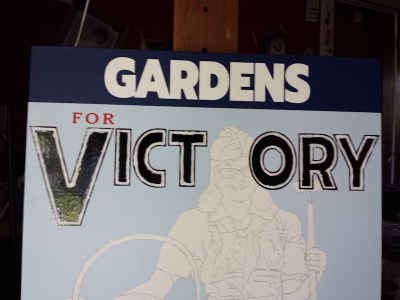
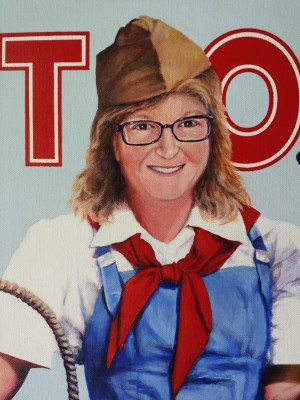
Next, I needed to add that thin white stripe on the red “Victory” lettering. Another stencil was made using my husband’s sign talents and his laser cutting machine. Each letter stencil needed to be placed right over the top of the painted letter to line up the open space where the white stripe would be painted. When using vinyl letters or stencils, the sticky plastic letter sheets are “weeded” from their background material – either a positive or negative letter is left, depending on how it’s used. They’re then usually stuck down as complete words, however I needed to do the Victory stripe, one letter at a time to keep alignment tight so I cut the letters out before sticking them down onto the canvas. Once more I was keeping my fingers crossed the adhered stencil would not pull off the red paint. After painting several coats of white, I let it dry, then I carefully pulled up the black vinyl stencil. Yay, Victory! Ha…
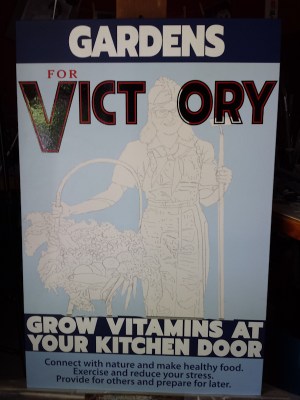


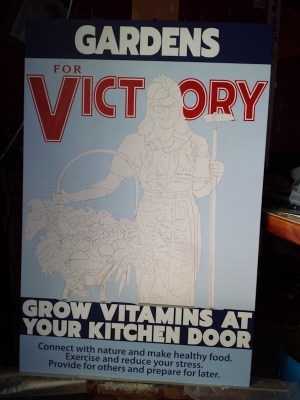
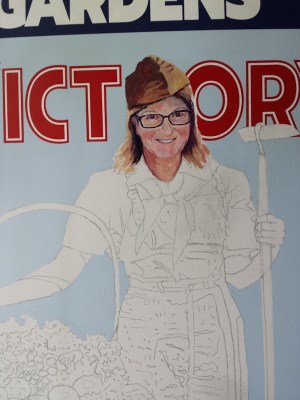
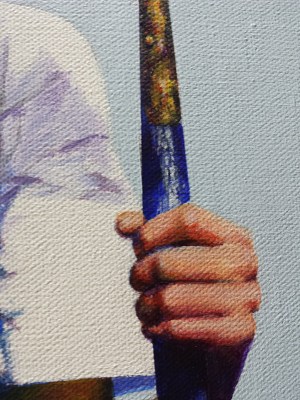
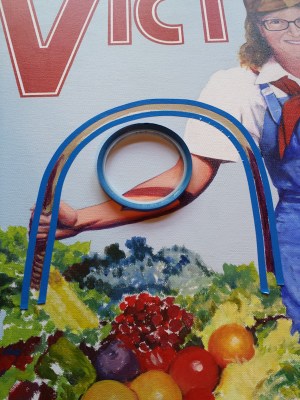
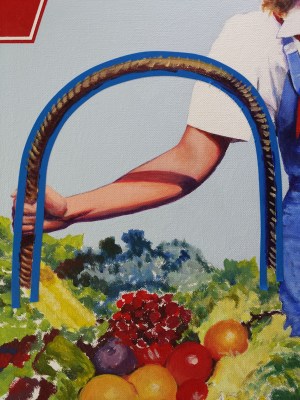
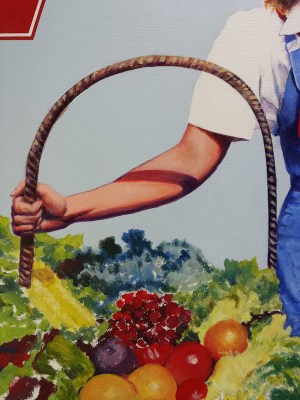
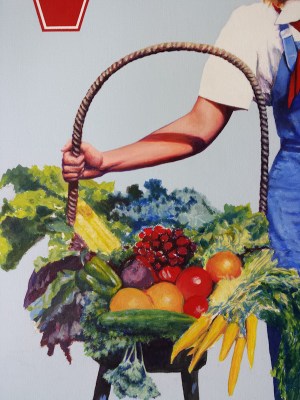
Finished with the lettering, I went to work on the figure, refining and layering to capture the likeness of the portrait and the texture of the overalls. I do not use masking tape on my canvases, since my work is more “go with the flow” and painterly than graphic, but to mimic a poster, I needed to paint with straight lines and this entailed the use of regular masking tape to protect straight edges, and flexible tape I could bend around the handle of the basket. Lucky for me, I was able to borrow some of my graphic artist / sign painter husband’s tape. This made painting the woven basket handle texture less of a chore since the edges were protected and I could utilize painterly brushwork to properly capture the basket weave.

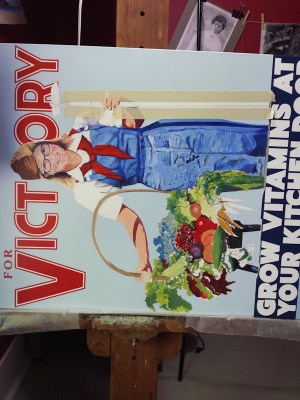


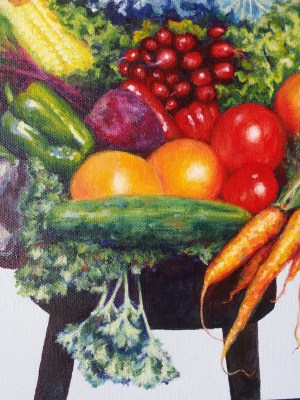
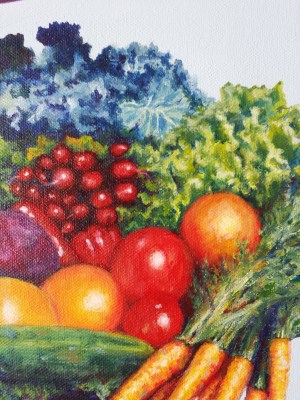
Last but not least, I went to work on the various fruit and vegetables, changing what was on the original poster when things needed better definition – clarifying some of the unrecognizable objects. When I was finished and happy with the basket of produce it was time to fine-tune the whole painting. I spent a few days studying everything closely, from the face to the hair, how the clothing was shadowed, basically looking to see whether anything bothered me in particular, fixing with touches of paint here and there. I also pulled out my saved background paint and cleaned up smudges and splatters and tidied up a few more letter edges. Completely finished, it was time for the signature! When a few days had passed and everything was dry, I covered the painting with Gamvar satin varnish.


It’s easy to become intimidated by complicated paintings like this one, but I’ve learned, if I just start somewhere, progress will be made. There might be some mistakes along the way, but luckily, with acrylic paint, mistakes can be happy surprises or just covered up by more paint. I’ve discovered it’s best to not stress or overthink things, but just keep going. Success can be achieved with consistent perseverance.
