
How the Creative Brain works:
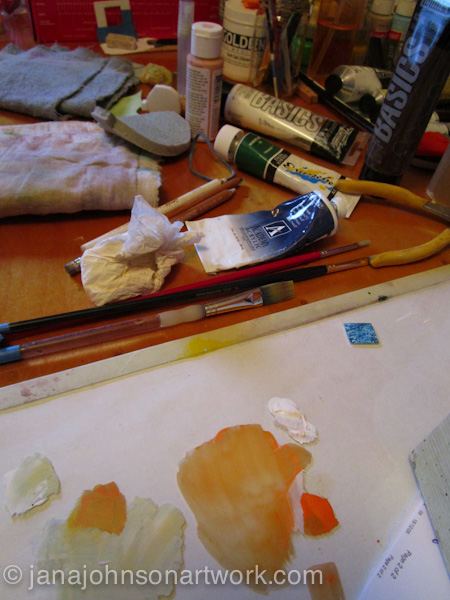
1. Time to organize the studio.
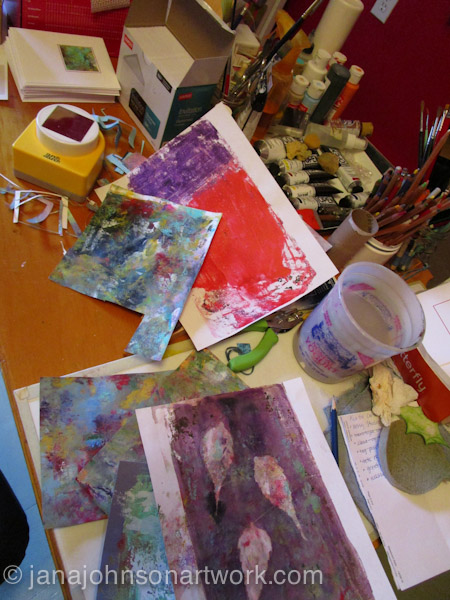
2. Gather rejected monotypes and other random papers.

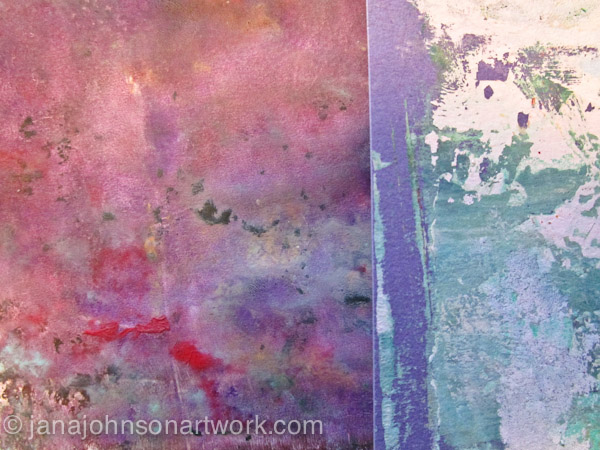
3. Go through rejected monotypes to see if any part might work as a finished painting with a little brush work.
4. Notice some great squishy, unique, paint textures.
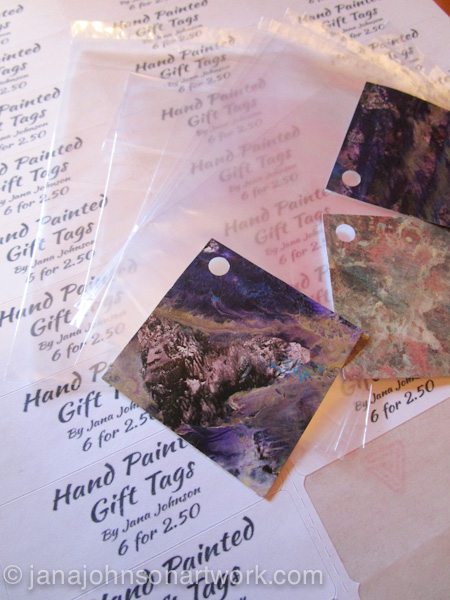
5. Think they might be fun Christmas gift tags.
6. Go hunt for tag punch. Notice it’s rather small, but spy larger square punch.

7. Start punching squares out of rejected monotype papers.
8. Discover lots of cool textures in the process.
9. Think they could be sold as sets at Art In The Valley Gallery.
10. Pull out round paper punch and start punching holes in square punched tags.
11. Look for tiny plastic baggies and find them.
12. Hunt for labels — find some in husband’s shop.
13. Make labels for gift tag bags on label template program on computer. Print.
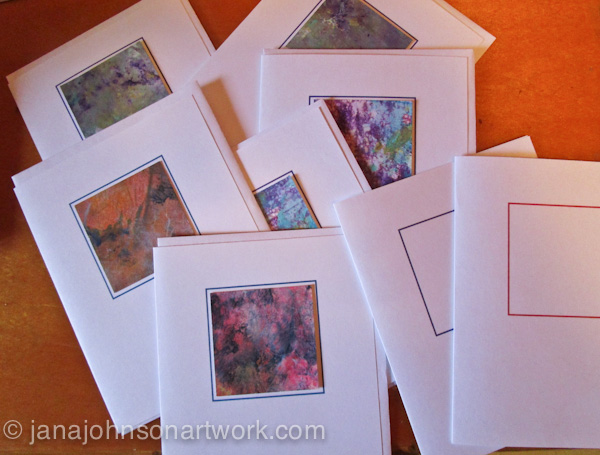
14. Start high grading favorite punched squares and setting them aside for personal use.
15. Notice there’s a lot of them and wonder if they could be made into greeting cards.
16. Cut card stock paper in ½ and try some of the squares on folded card stock to see how they’d look.
17. Think they’d be better with a border.
18. Knowing I have terrible “straight line skills” I make a stencil out of transparency film for edge borders.
19. Having terrible x-acto knife skills, ruin 2 stencils in cutting out process. Finally succeed with 3rd attempt.
20. Take stencil and draw borders. They end up looking awful… See #18…
21. Go to computer, open Photoshop and try making borders with computer.
22. Get frustrated with Photoshop — not enough skills to figure out simple borders…
23. Open Pages (Mac computer’s “Word” program) and make bordered card design.
24. Print out bordered card design.
25. Apply punched monotypes.
26. Make successful greeting cards.


Jana, love your creative process.
Thank you!
I laughed most of the way through this as I have just gone through the same process with some alcohol-ink-on-yupo experiments. I bailed on the straight line borders, though I used to do them without much thought. Most of the cards are now resting among other detritus as I decided to do them as New Year’s Cards and they haven’t made it to the mail box yet. Unfortunately I used 2016 as a part of the front design so it won’t do to save them for next year!
Have you played with alcohol ink…it is lots of fun (and a great time-waster!)
I enjoyed this post! I usually do but this one ‘rang a bell.’ Honor
>
Hi Honor, I think I’ve used alcohol ink on some tiny canvases — need to check my supplies and see if that’s what they were or not. I’ve seen some of the results on Yupo paper too — looks like a lot of fun. So far I’ve just used watercolor and acrylic paint on Yupo. Thanks for your comment — glad I made you laugh!